
Renovating Has Never Been Easier
We offer convenient home remodeling services in Spokane Valley, WA
GET IN TOUCH
.jpeg)
Have you made wonderful memories in your home but want a change of scenery? Thankfully, you can feel like you've moved into a new home without the headache of moving. Lux Renovations is a highly experienced, licensed and insured home improvement contractor ready to help you in Spokane Valley, WA. We can transform your home inside and out with affordable services. Whether you need deck services, painting services, siding services or remodeling services, you can rely on us to get the job done.
Call (509) 818-0064 to request a free consultation for your professional home remodeling service.
At Lux Renovations, we pride ourselves on bringing our clients' ideas to life. Our home improvement contractors will learn your design goals, gather high-quality materials and complete detailed work to make your home look amazing.
You can also count on us to respect your budget and handle everything from start to finish. Contact us to start planning your next home renovation project.
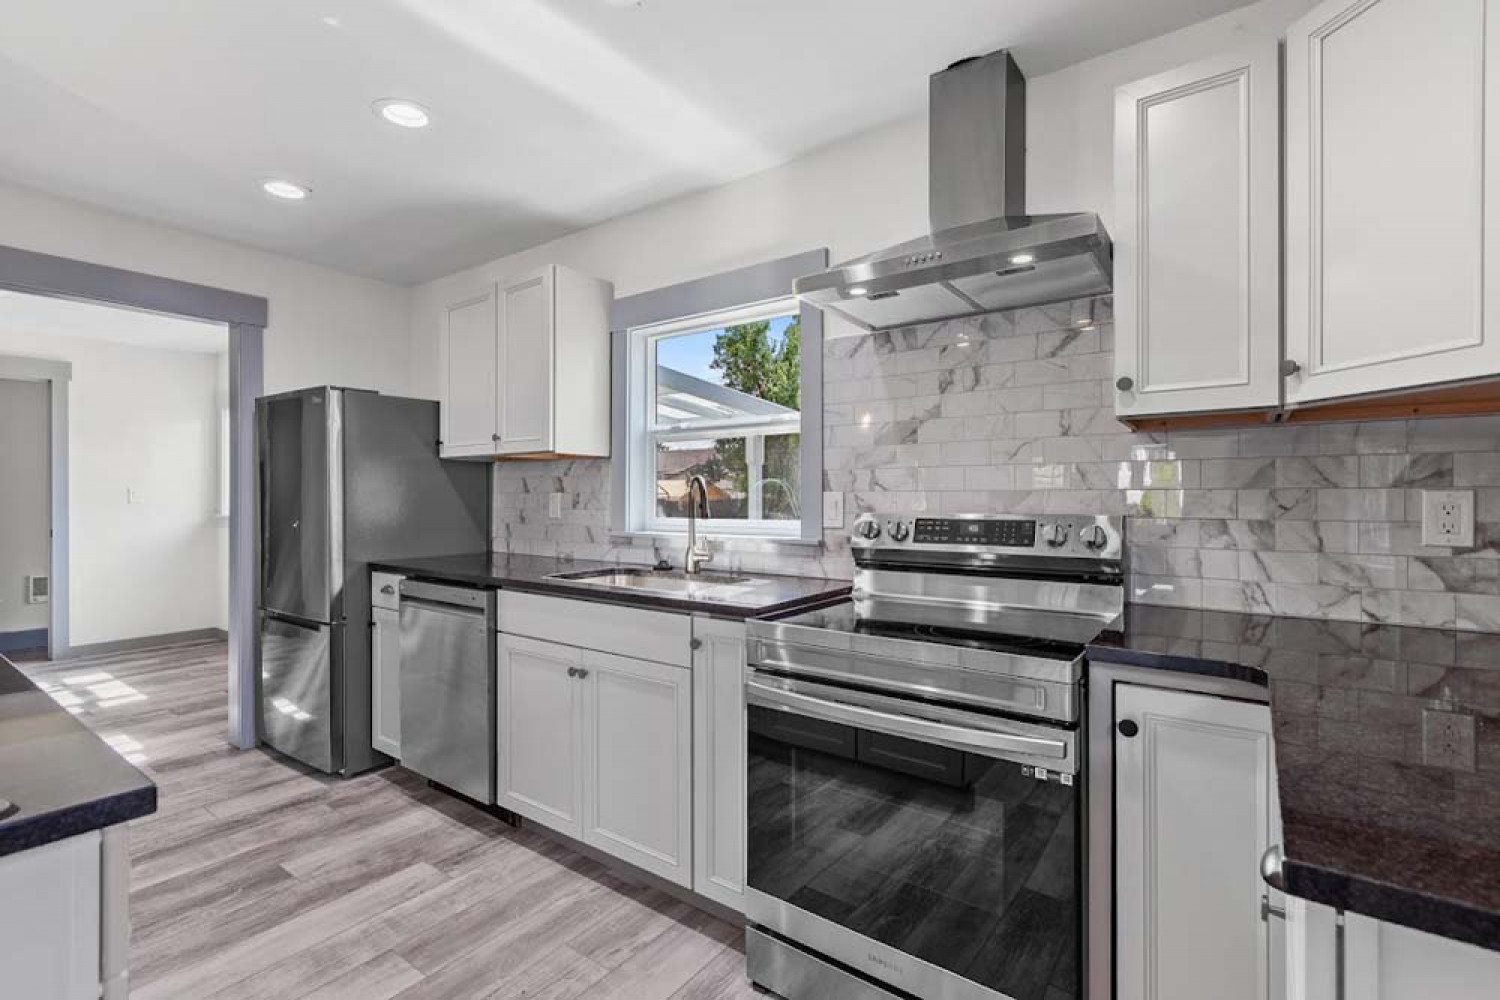
Are you tired of cooking in an outdated kitchen? Or considering a custom deck to complete your backyard? Then we're the renovation company for you.
Our professional home remodeling services are just what you need when you want a:
If you want to create a beautiful and comfortable living space, consider teaming up with Lux Renovations. Our home improvement contractors in Spokane Valley, WA are fully trained and qualified to bring your vision to life.
You'll appreciate that: